Glyphs - Stage 5
- Dec 5, 2020
- 2 min read
In this stage we learnt to generate a working font in the app glyphs. I used my illustrator files to import them into glyphs. The main thing you need is a file with a path.
Method
Download the Glyphs app. Which is used to create glyphs and fonts.
1.
New document.
File > New window (cmd-N). A glyphs palette appears
2.
Name it. Show font info (cmd-I).
Also remember to save the font. File > Save As

3.
Set the weight and the metrics.
Ascender + descender =1000 units

4.
Back to the glyphs palette.
5.
Double click on a glyph from the palette.
A glyph window opens as a new tab (eg. ‘n’)

6.
Go to your glyphs in illustrator. In order to make it a similar size to the glyph program create different boxes to the amount of pixels the glyph program uses for the, ascender height, x-hieght and descender height. Below it goes, x-hieght, ascender and then descender.

7.
Go back to your 'n'. Import Illustrator files into glyphs.
8.
Adjust weight and curves of the glyphs.

9.
Do this multiple times with the whole set of your glyphs.
10.
Once your whole set is created type out the set to see wether the spacing and Kerning is correct.

11.
Export Glyphs. File > export as a .otf file.

11.
Once Exported Drag and drop into font book.
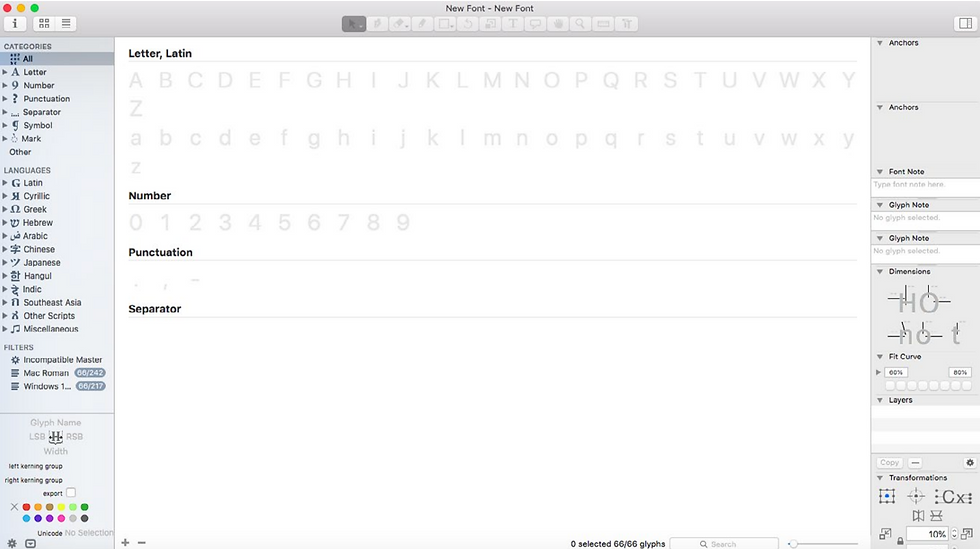
Panels and tools of the Glyph app:

Final Set of Glyphs
After refining the curves and moving unnecessary lines I was able to export my glyphs.

6 are letter on the key board 'a,s,d,f,g,h' to make it easy for me to type them out. I made three forms of punctuation - , . Each of the punctuation marks are the ones which are wider than most.

Development from Illustrator to glyph files
Glyph 1


Glyph 2


Glyph 3


Glyph 4


Glyph 5


Glyph 6


Glyph 7


Glyph 8


Glyph 9


Comments