Digital Workshop: Pattern
- Oct 27, 2020
- 3 min read
In this workshop we learnt how to make patterns using silhouettes of wild flowers. This is a technique that we could use in our extended project in the future.
Photoshop
Method 1
To start off in Photoshop create a 2000 x 2000 pixel/inch file. Insert the images you want to use to create the pattern and keep adding a new layer as you add a new image make sure not to let the images touch the edges.
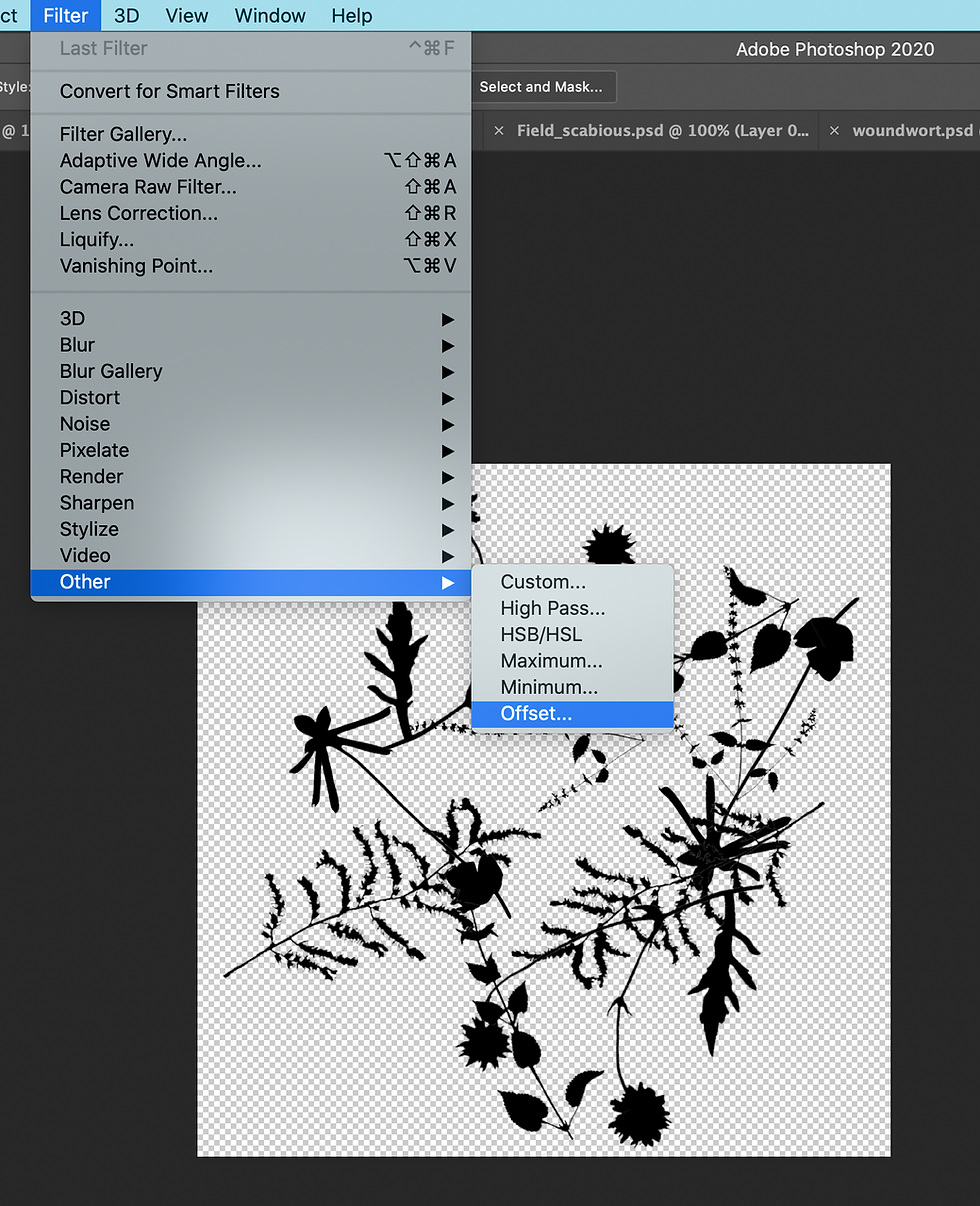
To make the pattern repeat it self go to file > other > offset.
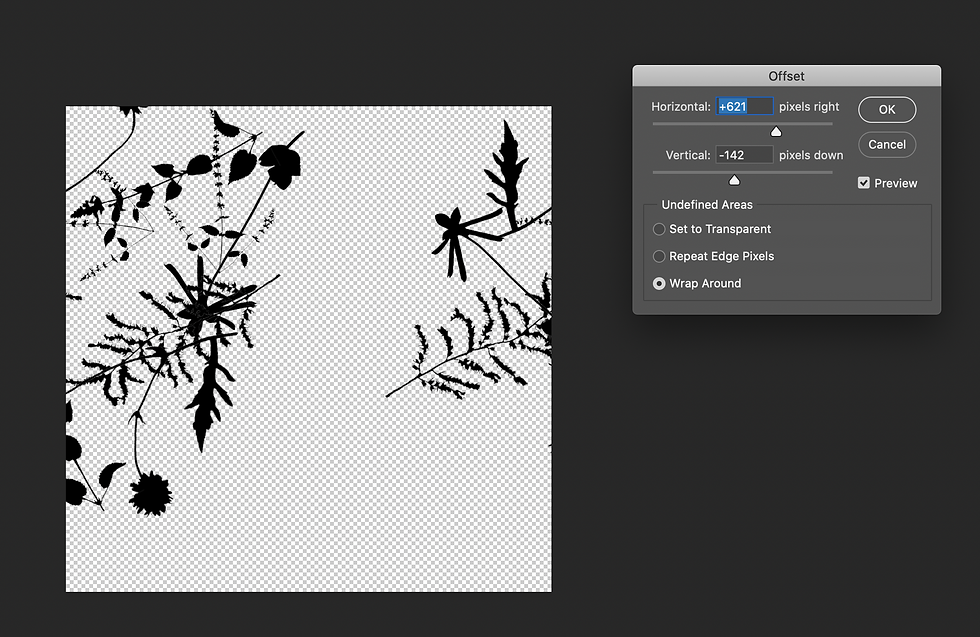
It will create something similar to the image above. Add more images to fill in the gaps. Merge all the layers together by selecting the layers and pressing command, 'E'. Then go to edit > define pattern.

A name box will come up and you should name the pattern. Make a new document which is twice the size of the first one (4000 x 4000 P/I).

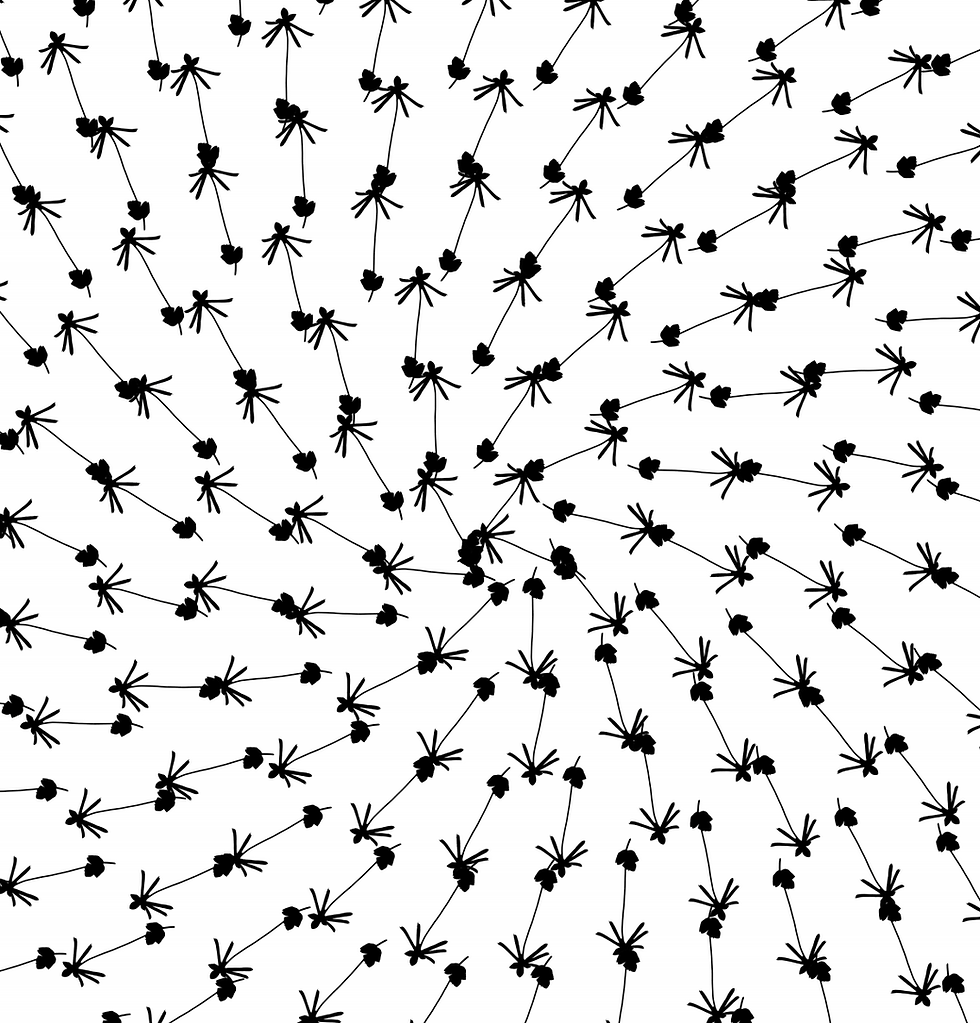
Create a new layer in the document and fill in the layer with the background colour you want for your pattern. Then double click on the layer and 'layer style' should come up. (see image above).

Click on pattern over lay and change the scale to create different patterns.


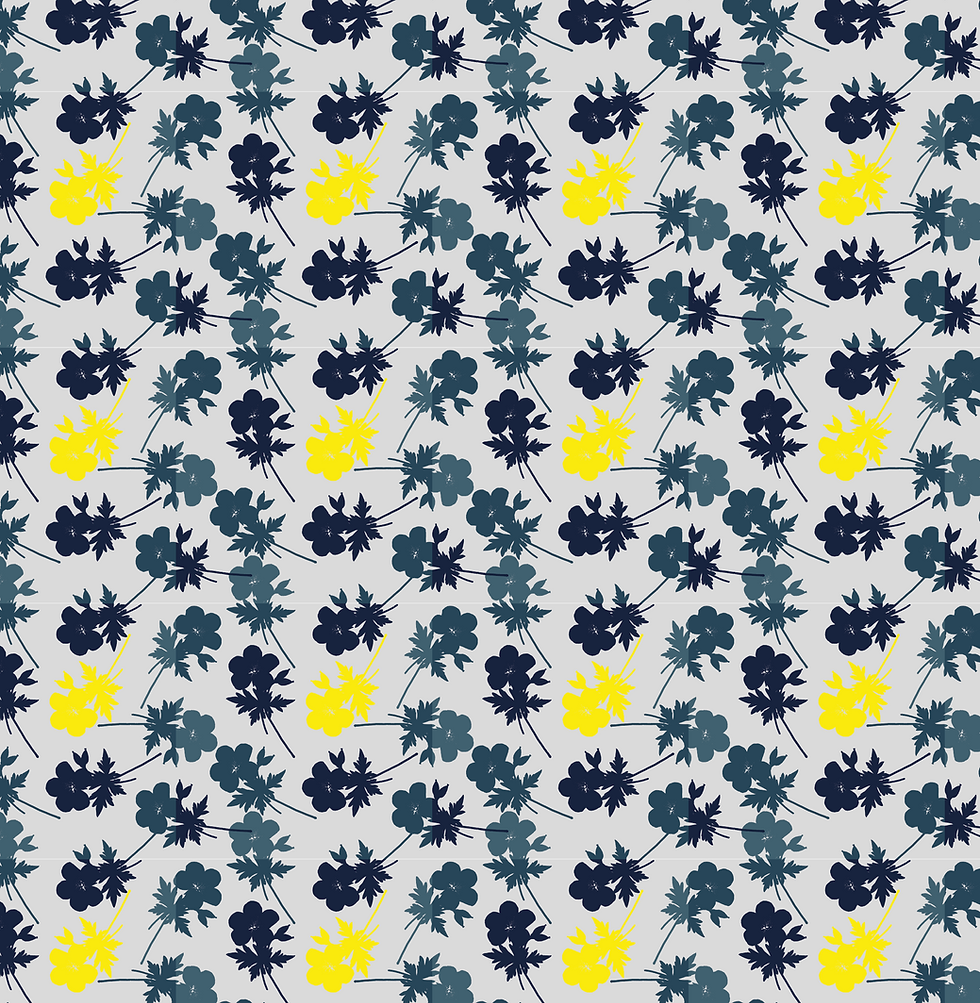
In these final patterns I realised I had made a mistake by letting the flower go out of the tile meaning that there is an obvious tile and it is not that seamless so to move on from it I will not let my images in pattern go over the side.
Method 2
Another way to create patterns in Photoshop is by creating scripts.
Start by selecting an image you want to make into a pattern. And select the image in Photoshop by clicking command , 'A' and define the pattern (edit > define pattern).
Create another new document bigger than the image. Create a new layer then press shift, backspace on the selected layer. This should come up with a fill box.

Go to contents > pattern > select the pattern > tick the script box > in the drop down bar next to the script box choose what type of pattern you want.

You can change the script by sliding the sliders along.

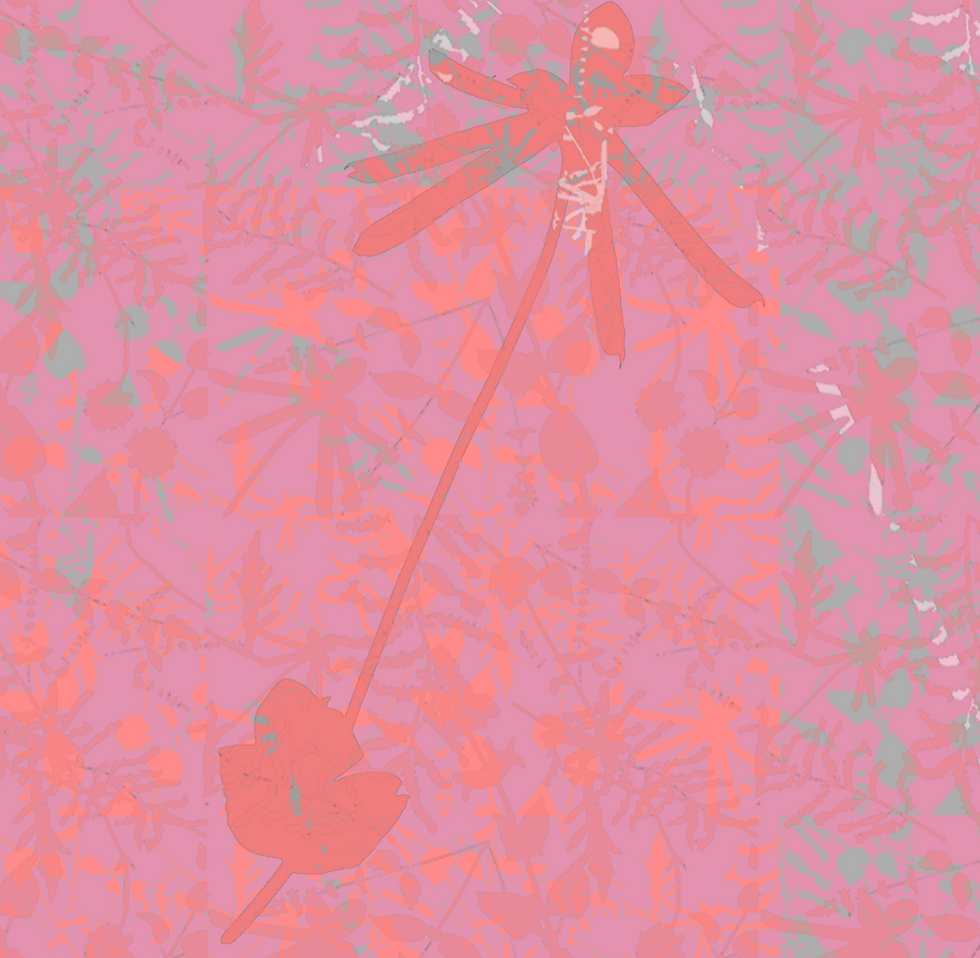
This final design I used opacity, colour and layering to create this design.
Here is a Youtube video which helped me to understand these methods.
Illustrator
To create a seamless pattern in Illustrator you should start by creating a new document with an art board size of 10 x 10cm.

Then create another art board by using the art board selector tool found in the tools panel. Click on the original art board and press option while dragging over a new art board scale it so it is 10x the size of the original art board.
Place in your graphics that you want to be incorporated into the pattern. First start placing your graphics over hanging on the top of your 10x10cm art board. Select the objects then go to object > transform > move > Enter the size of your art board (10cm) in vertical section and make the value 0 > copy. These will move your objects to the opposite side. Do the same for the left side but vice versa for the values. Add the graphics in the middle.
To create a coloured background create a square the exact size of your art board and make sure you align it correctly to your art board. To make sure its aligned correctly properties box > align it to the centre vertically > horizontally. Then send the background to the back right click > arrange > send to back.

To create a bounding box which defines where your pattern starts and ends. Copy the rectangle > paste to the back > make the strokes and the fill clear > select the whole pattern > drag to the swatches box. Move onto the second art board and create a new square the same size as the art board go to the rectangle fill > swatches > select your pattern.
Here is my final design I did not totally align the background box with the art board so there is a slight white line. Next time I was use the aligning tool to align my objects as for this design I did it manually. I will definitely use this technique in the future as it is quick way to create an illustrated pattern.
Here is a Youtube video which helped me to understand this method.


Comments